What I use for my homelab
How to Start: A Quick Guide
A homelab is your personal tech playground—a place to learn, experiment, and host your own services. Getting started is easier than you think. You don’t need a server rack; you can begin with the computer you already own.
Let’s look at a few starting points, and then I’ll share the path I took.
Simple & Low-Cost Starting Points
Option 1: VirtualBox or Hyper-V
The easiest way to start is on your main desktop or laptop.
- VirtualBox: This free software lets you run “virtual machines” (VMs) on any operating system. It’s perfect for learning the basics of Linux or testing software in a safe, sandboxed environment.
- Hyper-V: If you have Windows 10/11 Pro, you already have a powerful, built-in hypervisor. It’s a great way to learn skills that are directly applicable to corporate IT.
The catch? Your lab’s performance is tied to your PC. It’s not ideal for services you need running 24/7.
Option 2: The Raspberry Pi
This credit-card-sized computer is a homelab classic for a reason. It’s tiny, silent, and sips power, making it perfect for dedicated, always-on services. A Pi is the ideal host for projects like Pi-hole (network-wide ad-blocking) or Home Assistant (smart home automation). Its main limitation is its low processing power.
My Path: A Dedicated Two-Server Setup
After I tried the Hyper-V option above, I wanted more power and reliability. My philosophy became: separate compute from storage. This led me to a setup with two dedicated machines.
 My actual hardware
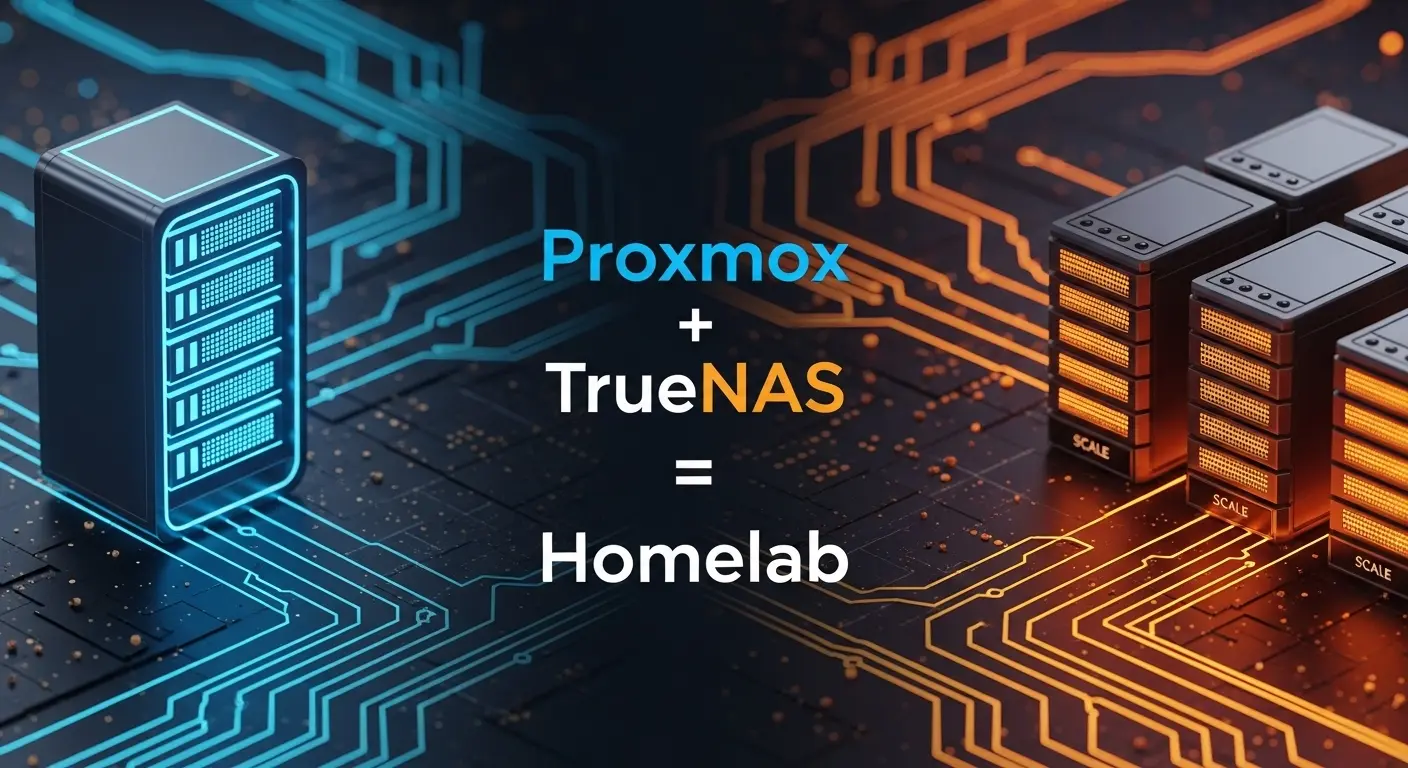
Machine 1: The Compute Brain (Proxmox)
I purchased a second-hand HP mini pc and I installed Proxmox VE on it. Proxmox is a free, powerful, open-source hypervisor that turns a computer into a dedicated host for VMs and LXCs. This machine runs all my apps and services: Docker, firewall, proxies, test environments, and more. I can also do some automations using proxmox API, which is great!
The exact model that I choose is HP EliteDesk 800 G6. Why? Because it is a small box and it has some pretty powerfull hardware components:
| Processor | Memory | Storage |
|---|---|---|
| Intel(R) Core(TM) i5-10500T CPU | 32GB DDR4 | 1.5 TB NVMe |
This model also supports 10Gb/s network card as a module and I really like that. Maybe I will add such NIC in the future.
I think this is a decent virtualization node that I can use to test docker, k8s, proxies and so on.
Machine 2: The Data Guardian (TrueNAS)
For this one, I can say that I got lucky 😂.
One of my friends just donated me a old laptop that he didn’t really use anymore.
This is a Alienware M17x R2 legacy back from 2009.
I installed TrueNAS SCALE on it, an open-source Network Attached Storage (NAS) operating system. Its killer feature is the ZFS filesystem, which provides incredible protection against data corruption. It serves files to my entire network and, most importantly, stores the backup for my Proxmox VMs under a Proxmox Backup Server instance.
| Processor | Memory | Storage |
|---|---|---|
| Intel(R) Core(TM)2 Quad CPU Q9000 | 8GB DDR3 | 1 x 500GB SATA SSD |
| 1 x 500GB SATA HDD |
I use a USB drive as boot device, just to benefit from both drives capacity, since TrueNAS will reserve all the space from the boot drive, thus making it unaccessable.
This two-system approach means my applications run fast on one machine, while my critical data is kept safe on another.
Your Journey Starts Now
There is no single “right” way to build a homelab. This is how I did it.
I will post new topics about:
- how I did some automations using Packer & Terraform
- how I setup a Docker machine
- how I plan to develop a k8s cluster
Stay tuned for more! 😎